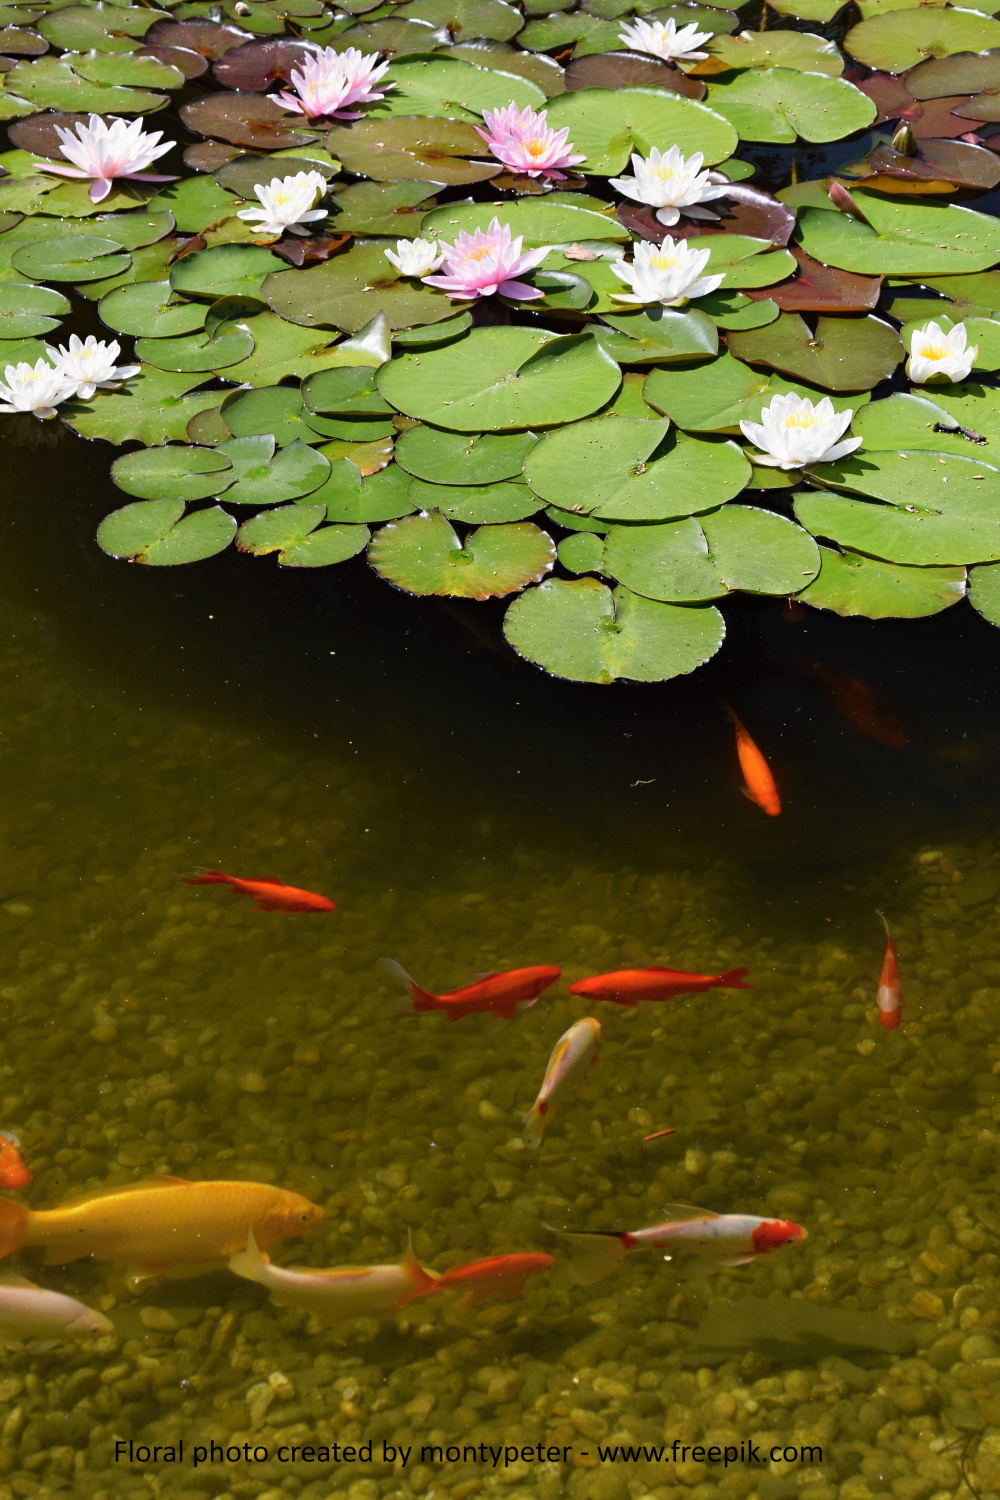
 Fish ponds are the premier aquarium for many people around the world. Pond fish, especially koi, come in a huge variety of colors and patterns and there’s a tremendous amount of pleasure and relaxation in owning a fish pond.
Fish ponds can be a great water feature. Many people see a pond and envision how it would look in their own backyard. However, there is a lot that can go into it and building a fish pond build can be a very expensive project.
This fact keeps many people from ever enjoying a pond. Some people though, have bitten the bullet and taken on a project. If they want a pond, they’ll willingly take on the task of building a fish pond. Especially if they can find ways to do it without breaking the bank.
A lot of DIY pond builders are successful, but many soon realize that it takes a lot of work to successfully build a pond. If you want a pond without the expense, ask the question “How can I save money”?
Building a pond requires a lot time and money; however, if you are remotely handy with tools and some friends to help on weekends, a few simple suggestions should put you well on your way to owning your your very own fish pond.
What Kind of Fish Pond?
There’s no reason to believe that an in-ground pond is absolutely necessary. Consider building an above ground pond the same way you would build a wading pool that’s a couple of feet deep. The size of the pool, how much water it’ll hold and how many fish you want to put in it determines the cost. You could buy a kit or design your own. Your imagination is probably your best resource for designing a pond. Follow these basic steps:
1. Determine how much big you want your pond to be. As an example, a 10 feet by 12 feet pool that is two feet deep is a good size and makes demonstrating calculations easy. 10X12X2 = 240 cubic feet of pool. Multiply this by 7.5 gallons and you end up with an 1800 gallon above ground pool that will support five or six fish easily. If you want to make the pond deeper, it can easily be done by digging a hole and make part of the pond be below ground level.
2. Build the pond structure out of 4X6 or 6X6 timbers. You may have to cut some of them to make the joints, but this will allow you to overlay the joints and give the structure added strength to contain the pressure of the water. Drill holes through the timbers about a foot into the ground to hold the structure in place. You can also drill holes for the skimmer and water lines. Water lines and valves are ordinary PVC and are very reasonably priced.
3. Find a suitable place to put a utility area with the pump, filter and water purifying equipment. I would put it in an out of the way spot that can be covered with a shelter or hidden with plants. Run the water lines from the pond structure and electrical conduit to the utility area. Make sure you seal the flanges used with the lines and I suggest a valve installed in each line to isolate the pond when you want to do any maintenance on the utilities.
4. Install a liner. It has to be a heavy gauge plastic liner. This is one area I would not go cheap on. The heavier, the better and I suggest at least 1/2 inch of styrofoam or vermiculite under the floor and sides of the liner to cushion it against imperfections in the ground and the sides of the timbers.
The liner should be at least 45 mils thick and (if possible) cover the entire area inside your pool without any seams. Finding the right koi pond liner can be as easy as going to amazon.com and selecting a liner with a warranty.
If the pond is not very big, another option to consider is a pond kit. But before you spend any money, find out what’s in the kit, compare prices and don’t spend any more than you have to get the right kit for your yard.
Do some online research and find out what a competitive price for a complete kit should be. Finding the right koi pond kit that has everything in it you need to build a koi or garden pond could be as easy as heading down to your local hardware store or going online to do your shopping.
5. Fill the pond with water to just above the flanges and check for water leaks in the plumbing. If you find any, pump the water out and fix them. Then continue filling until the water level is about six inches below the top of the structure.
6. Start pumping the water, use any de-chlorination method you want and let the water circulate for several weeks to stabilize the temperature and quality before you put any fish into it. This is also a good time to install plants in and around the pond to provide shade and food for your koi.
7. Put your fish in the pond and enjoy.
8. Start thinking about other things you can do. This type of construction makes it easy to add waterfalls or fountains. Let your imagination be your guide.
Getting the best information is the first step toward having a great Koi fish pond and information is available now. The “The Beginner’s Guide to Raising Healthy Koi“ has the latest up-to-date information on building your pond and keeping your fish healthy, vibrant and happy. Get a copy by clicking here now.